Install Apache
sudo yum install httpd
Jalankan Apache
sudo systemctl start httpd
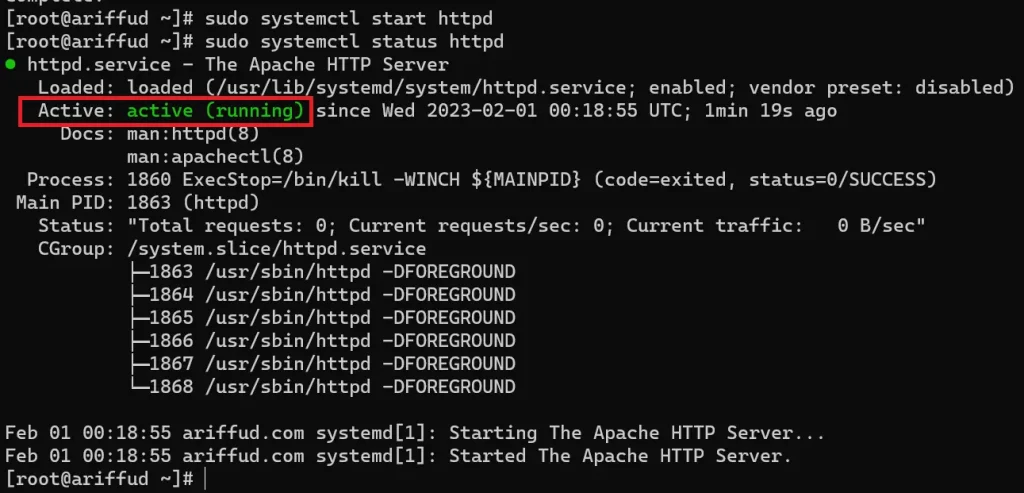
Periksa Status
sudo systemctl status httpd
Aktifkan port http dan https
firewall-cmd --permanent --zone=public --add-service=http
firewall-cmd --permanent --zone=public --add-service=https
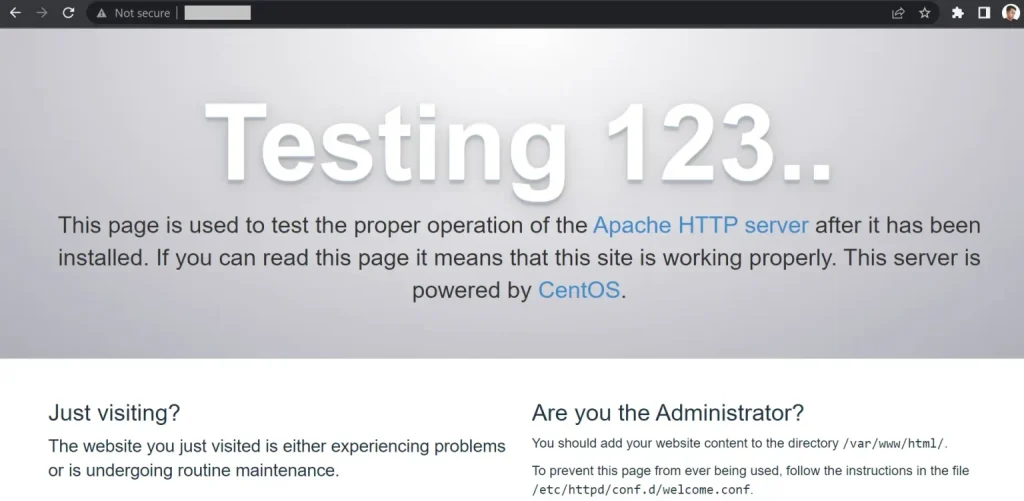
firewall-cmd --reloadAlternatif lain, Anda juga bisa mengakses IP VPS Anda sendiri via browser seperti contoh berikut:
Langkah berikutnya dalam membuat virtual host di CentOS 7 dengan Apache adalah membuat directory var/www/html/public_html untuk menyimpan file website. Perintah eksekusinya adalah:
sudo mkdir -p /var/www/html/public_html
Kemudian, buat lagi sebuah directory log guna menyimpan aktivitas perubahan dan data error yang terjadi di server. Berikut perintahnya:
sudo mkdir -p /var/www/html/log

Beri Izin akses
sudo chown -R $USER:$USER /var/www/html/public_html
Buat Halaman Demo Virtual Host
cd /var/www/html/public_html
touch index.html
Setelahnya, edit isian index.html melalui perintah:
nano index.html
Anda akan diarahkan ke tampilan nano text editor. Di sini, tempelkan deretan script berikut:
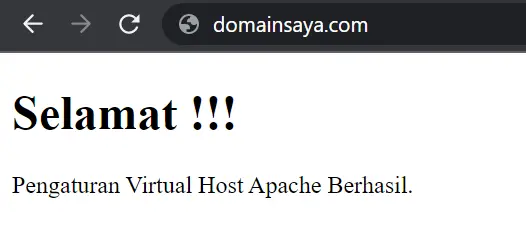
<!DOCTYPEhtml><html> <body> <h1>Selamat !!!</h1> <p>Pengaturan Virtual Host Apache Berhasil.</p> </body></html> |
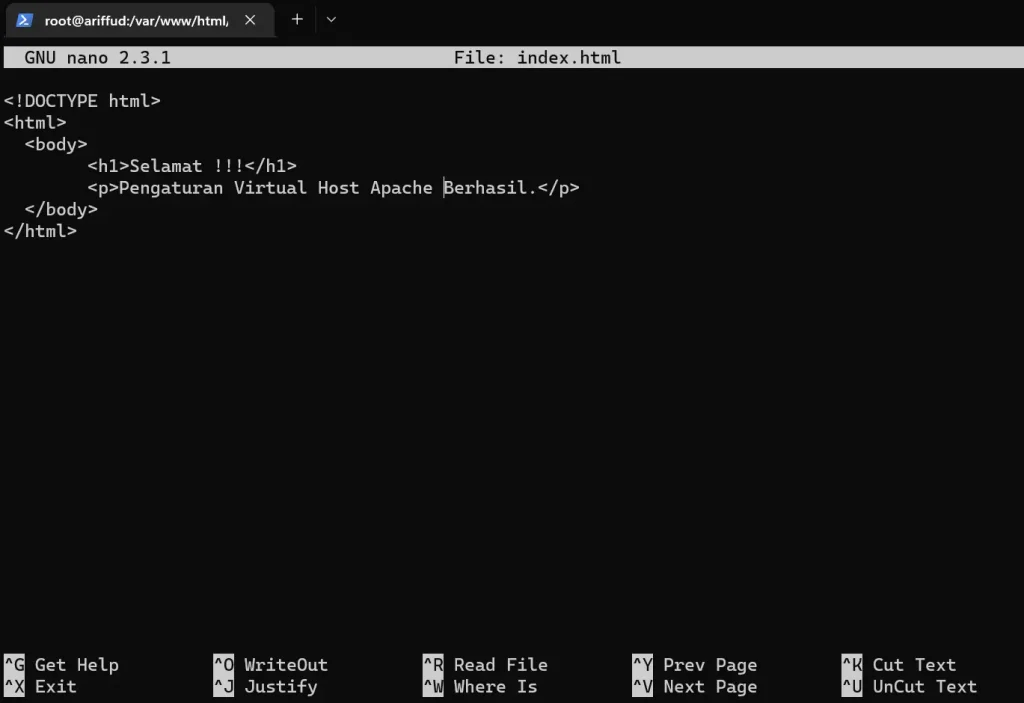
Terakhir, untuk menyimpan perubahan, klik tombol Ctrl+X, diikuti dengan Y lalu Enter.
Buat File Virtual Host
sudo mkdir /etc/httpd/sites-available /etc/httpd/sites-enabled
sudo nano /etc/httpd/conf/httpd.conf
Jika sudah, tempel script di bawah seperti pada gambar untuk menambahkan direktori sites-available dan direktori sites-enabled:
IncludeOptional sites-enabled/*.conf |
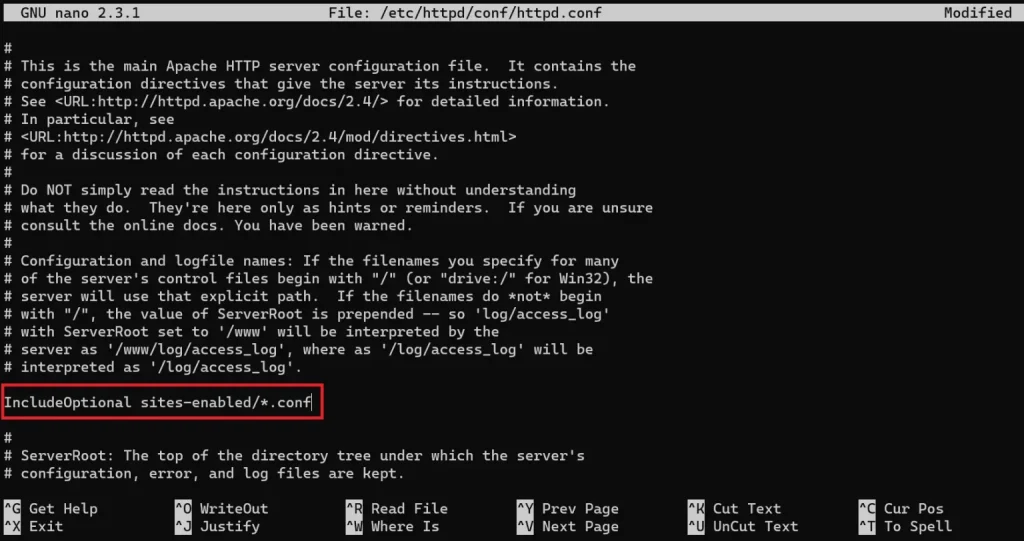
Simpan perubahan file dengan klik Ctrl+X > Y > Enter.
Setelah itu, buat sebuah file konfigurasi virtual host di dalam direktori sites-available. Kali ini, kami akan menamai file tersebut website-1.conf. Untuk itu, silakan eksekusi perintah berikut:
sudo nano /etc/httpd/sites-available/website-1.conf
Keterangan: pastikan ekstensi file virtual host yang Anda buat berakhiran .conf
Setelah masuk ke editor nano, tempelkan kode script di bawah:
<VirtualHost *:80>
ServerName www.domainsaya.com
ServerAlias domainsaya.com
DocumentRoot /var/www/html/public_html
ErrorLog /var/www/html/log/error.log
CustomLog /var/www/html/log/requests.log combined
</VirtualHost>
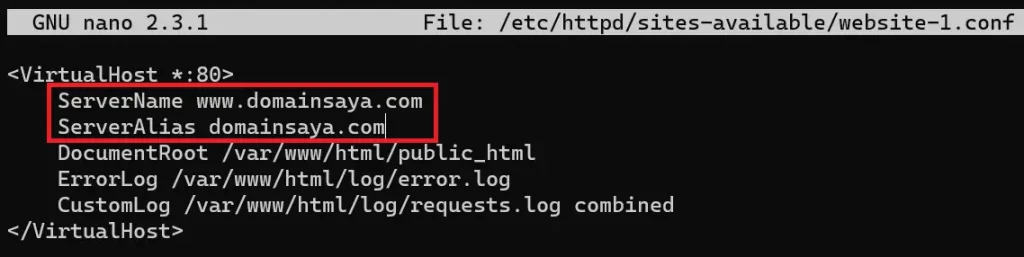
Keterangan: Ganti value ServerName dan ServerAlias dengan nama domain Anda sendiri.
Jangan lupa, simpan perubahan menggunakan kombinasi tombol Ctrl+X > Y > Enter.
Berikutnya, jalankan perintah di bawah agar nama domain situs yang Anda tambahkan di file website-1.conf dapat diakses.
sudo ln -s /etc/httpd/sites-available/website-1.conf /etc/httpd/sites-enabled/website-1.conf
sudo setsebool-P httpd_unified 1

sudo systemctl restart httpd
install php 8.1
sudo yum -y install https://dl.fedoraproject.org/pub/epel/epel-release-latest-7.noarch.rpm
sudo yum -y install https://rpms.remirepo.net/enterprise/remi-release-7.rpm
sudo yum -y install yum-utils
sudo yum-config-manager --disable 'remi-php*'
sudo yum-config-manager --enable remi-php81
sudo yum repolist
sudo yum -y install php php-{cli,fpm,mysqlnd,zip,devel,gd,mbstring,curl,xml,pear,bcmath,json,opcache,redis,memcache, intl}
Berikutnya, silakan buka browser Anda dan ketikkan nama domain yang tadi ditambahkan ke Apache virtual host. Nah, hasilnya adalah:
https://www.niagahoster.co.id/blog/cara-membuat-virtual-host-di-centos/
https://computingforgeeks.com/how-to-install-php-centos-rhel-linux/